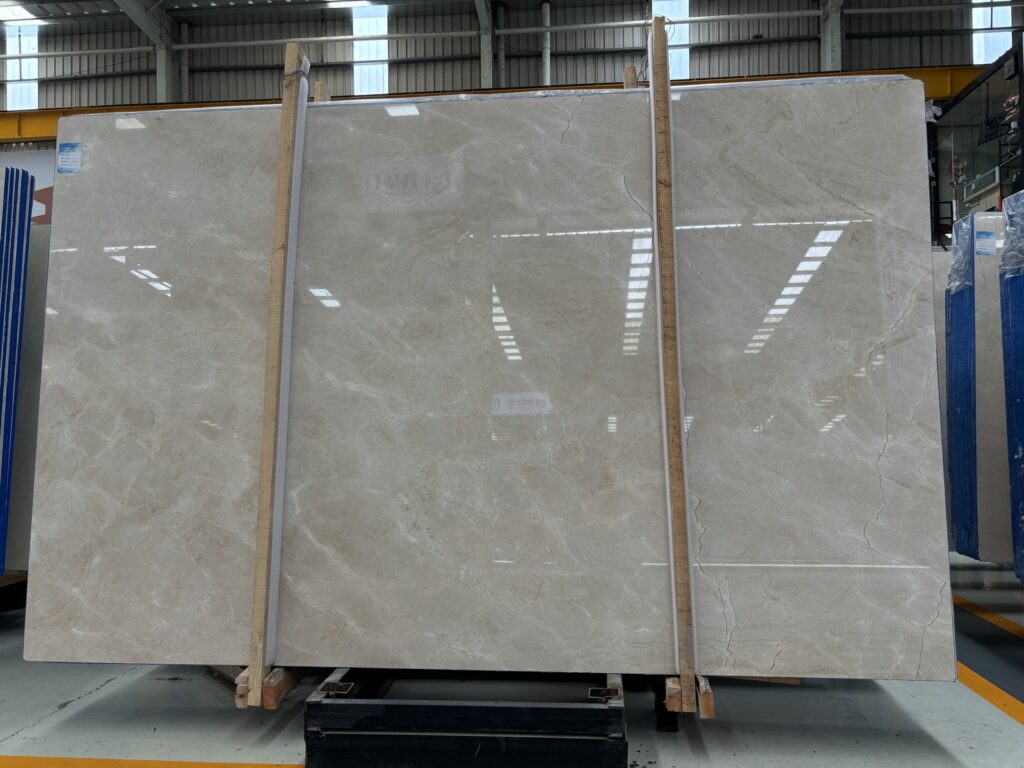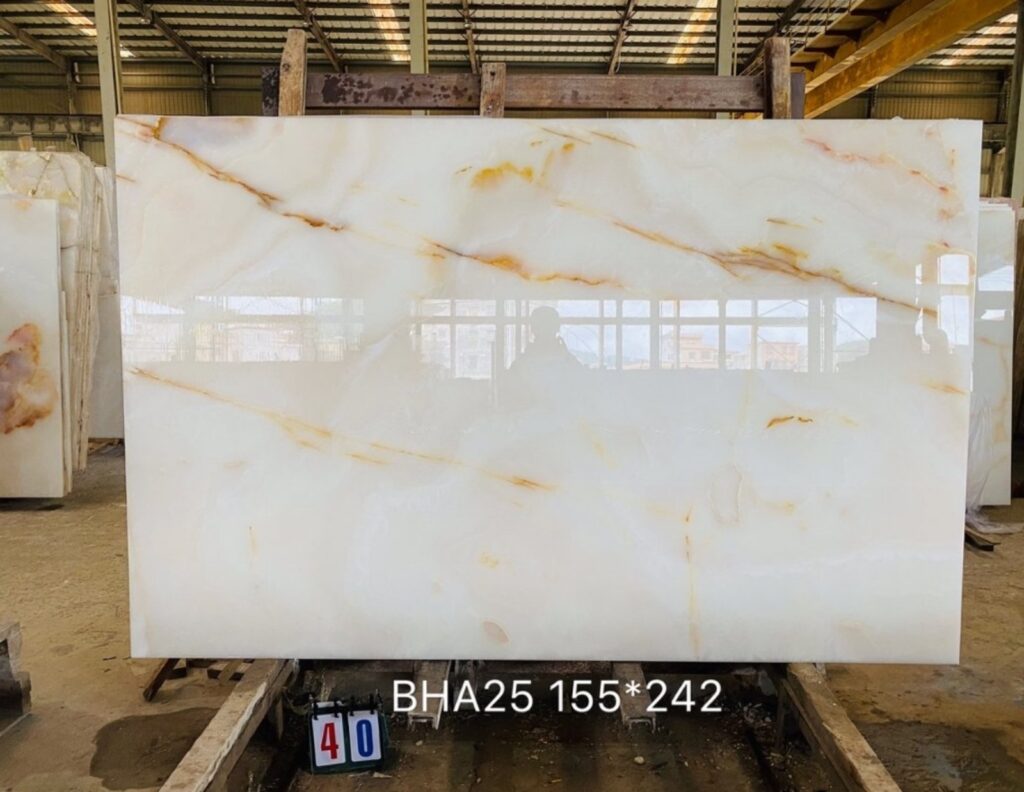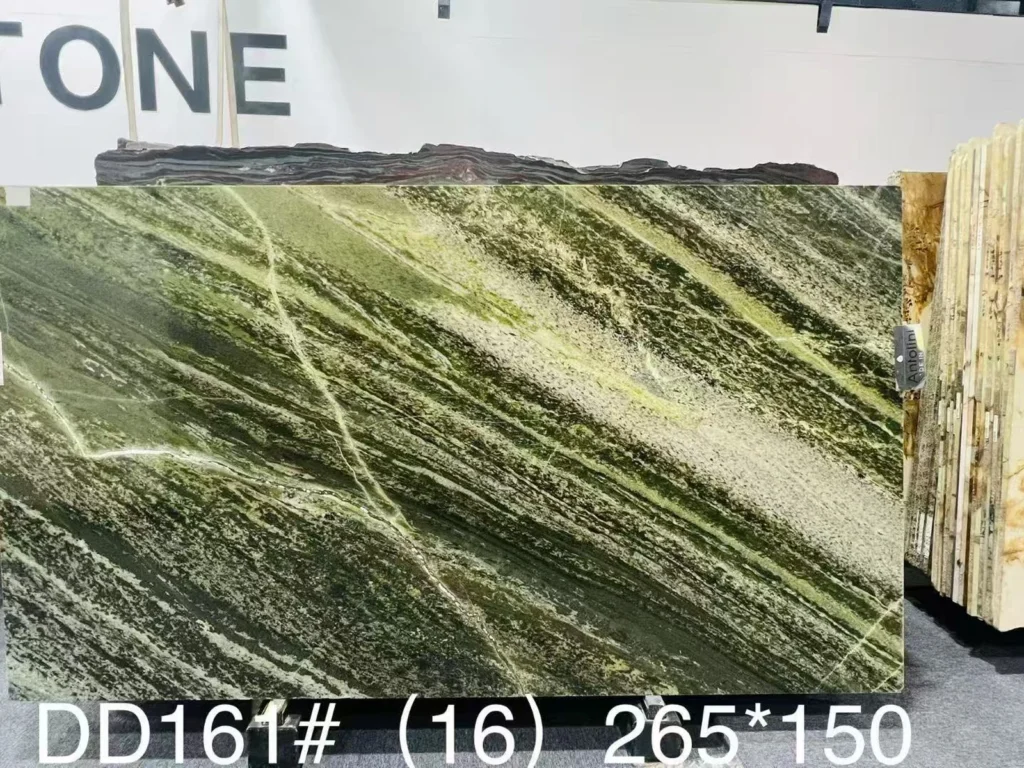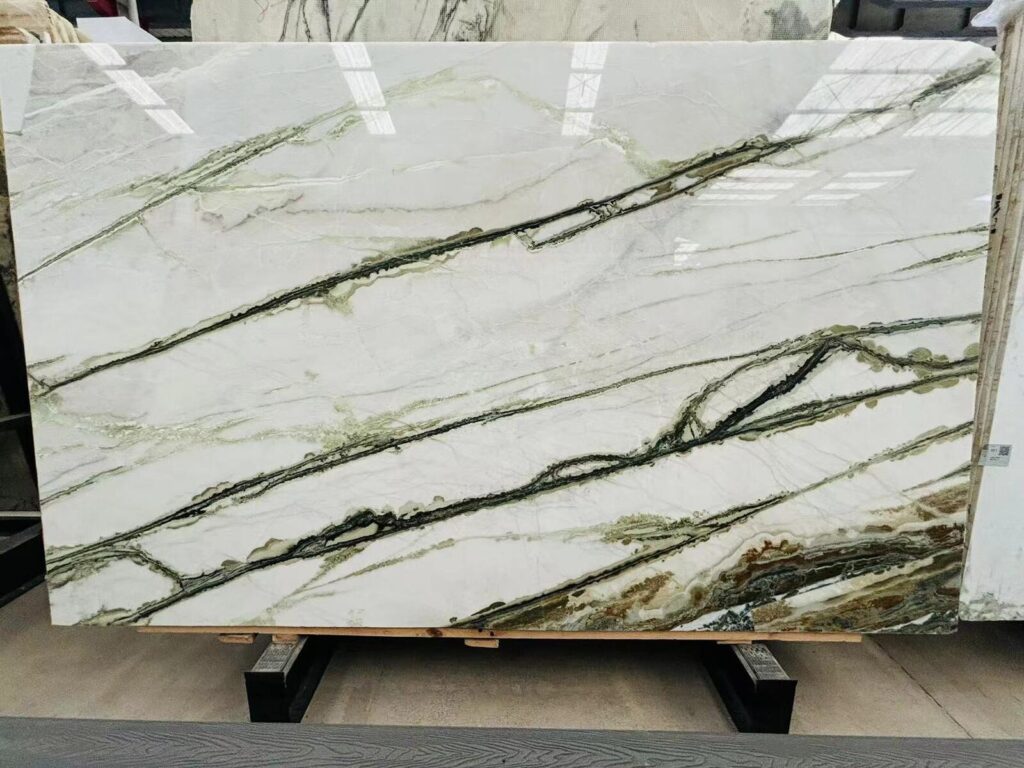


Résumé rapideQuartzite Under Raking Light can reveal surface information that is difficult to see under broad diffuse lighting. When light travels across a stone surface at a very low angle, shallow scratches, polishing swirls, local waviness, filled areas, residue, fine texture and differences in reflectivity can create stronger highlights or longer shadows. This makes raking light useful for diagnosis and fabrication QC, but it does not automatically represent normal project viewing. Review the same identified Natural Quartzite first in a clean, dry condition under ordinary lighting, then use controlled low-angle light to investigate specific areas. Record the light direction, surface finish, viewing distance, location and finished-piece context before deciding whether an observed mark is a natural feature, fabrication condition, maintenance issue or item requiring further technical review.
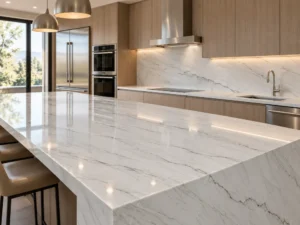
A polished Natural Quartzite island can look smooth and balanced from normal standing height.
Then sunlight enters through a low window late in the afternoon.
Suddenly several faint lines become visible.
A soft circular polishing pattern appears near one corner.
A filled mineral area shows a slightly different reflection.
A shallow surface variation that was almost invisible under ceiling light creates a long narrow shadow.
The next morning, under diffuse daylight, most of those conditions are difficult to see again.
Has the Quartzite changed?
Non.
The viewing geometry has changed.
This is the central issue behind Quartzite Under Raking Light: Why Surface Marks Become More Visible.
Raking light is useful precisely because it makes subtle surface conditions easier to detect. But that same ability can make a minor condition look much more dramatic than it appears during ordinary use.
The correct response is therefore not to ignore raking-light observations and not to treat every raking-light observation as an automatic defect.
The useful approach is to understand what the lighting reveals, identify the actual condition, and then judge it against the relevant project location and viewing requirements.
Raking light is light that reaches a surface at a very low or glancing angle.
Instead of illuminating the stone mainly from above, the light travels almost across the face.
This changes how small surface variations create contrast.

Imagine a very shallow scratch in a polished surface.
Under diffuse ceiling light, both sides of the scratch may receive enough light that the line is difficult to notice.
Now move a directional light almost parallel to the countertop.
One side of the scratch catches light while the other side creates a narrow shadow.
The scratch becomes easier to see even though its physical depth has not changed.
The opposite happens on very small raised or differently reflective areas.
A local fill, mineral boundary, polishing transition, residue or slight surface texture may catch the low-angle light and create a bright line or patch.
The apparent contrast becomes stronger than under diffuse lighting.
A linear condition running perpendicular to the light direction may cast a strong shadow.
Rotate the light or inspect from the opposite side and the same condition can become much less obvious.
This is why one raking-light photograph does not fully describe the surface.
Raking-Light Principle
Low-Angle Light → Stronger Highlight / Shadow Contrast → Surface Relief Becomes Easier to See. The lighting increases visibility; it does not automatically increase the physical severity of the condition.
Raking light can reveal several very different types of surface information.
They should not be grouped together simply as “marks.”
A real surface scratch interrupts the polished or honed plane.
Under controlled low-angle light, the scratch may produce a bright line, dark line, or combination of both depending on the light and camera position.
Natural Stone Institute care guidance recognizes scratches and nicks as surface conditions that may require buffing, repair or repolishing depending on their severity.

Mechanical finishing can leave visible directional patterns if a polishing stage is incomplete or inconsistent.
These conditions may be difficult to see under broad overhead lighting but become much clearer when a narrow reflection moves across the surface.
A repeating circular or directional pattern should be distinguished from natural geological movement.
Natural Quartzite is composed of different minerals.
Different mineral areas can interact with polishing and reflected light differently.
A controlled reflection may therefore show local changes in sheen even when the overall stone finish appears acceptable from normal distance.
Not every difference in reflection automatically establishes a fabrication problem.
Some natural-stone slabs contain filled, repaired or resin-treated conditions.
A filled area can have a slightly different texture or reflectivity from the surrounding natural mineral surface.
Raking light may make that transition more visible.
The project should first establish what the observed area actually is before deciding whether it is acceptable.
Natural Quartzite is not a homogeneous manufactured sheet.
Crystalline zones, mineral transitions, fissure-like natural features and other geological conditions may interact differently with a low-angle light.
Do not classify every irregular reflected line as a scratch.
Surface contamination can also become dramatically visible under directional light.
Fine dust can create a hazy reflection.
A dried water mark can interrupt gloss.
Polishing residue or fingerprints can create patches that resemble finish variation in a photograph.
This is why the surface should be inspected clean and dry before a permanent condition is diagnosed.
| Observed Condition | What Raking Light May Reveal | What Still Needs Clarification |
| Fine scratch | High-contrast linear highlight or shadow | Depth, location, normal-view visibility and repair relevance |
| Polishing swirl / grit line | Circular or directional interruption of reflection | Whether it is actual fabrication-related finish variation |
| Natural mineral feature | Local texture or reflectivity change | Geological feature vs another observed condition |
| Fill / repair / resin area | Difference in sheen, texture or surface continuity | Actual treatment, location and approved acceptance scope |
| Dust / residue / water mark | Haze, streak or dull patch | Whether the condition remains after correct cleaning and drying |
This distinction is the most important part of the article.
A diagnostic lighting method is designed to reveal information.
That does not mean it automatically represents how the finished countertop will normally look.
A very shallow mark can create a long shadow when the light source is nearly parallel to the surface.
An extreme close-up photograph can amplify the effect further.
The resulting image may make the condition visually dominant even though it is difficult to locate from normal standing distance under the completed kitchen lighting.
The opposite mistake is to dismiss the lighting entirely.
Some finished interiors naturally produce strong glancing light.
Examples can include:
If the completed project will regularly create that lighting condition, its visual effect may be relevant to acceptance.
The project should therefore ask:
Is the observed lighting condition a temporary diagnostic test?
Or is it a normal recurring condition in the finished space?
These two situations should not automatically use the same acceptance logic.
Two-View Rule
Use raking light to find and document the condition. Use representative project lighting and normal viewing distance to understand its real visual significance. Neither view should replace the other when both matter.
The same physical surface condition can appear very different depending on the stone finish.
A polished surface creates stronger specular reflections.
When a narrow band of reflected light crosses the surface, a scratch or polish variation interrupts that reflection and may become very obvious.
This makes controlled reflected light particularly useful for checking:

A honed finish reflects light more diffusely.
There may be less mirror-like glare, but surface texture and changes in sheen can still become visible under oblique lighting.
Do not assume that a honed surface eliminates the need for controlled inspection.
A fine disruption of a high-gloss surface can stand out strongly because it breaks an otherwise continuous reflection.
On a lower-sheen surface, the same geometric condition may produce less contrast—or a different kind of contrast.
This is why finish must be recorded with every surface-condition review.
Le relatif Quartzite poli vs honni pour les plans de travail de cuisine guide explains how finish changes reflectivity, colour depth and the visibility of everyday surface activity.
Raking light is very good at finding questions.
It is not always enough to answer them.
Before describing a linear condition, compare it with the actual geological pattern.
Does it follow a natural mineral boundary?
Does it disappear when the viewing angle changes?
Does it interrupt the polish physically?
Is it part of a filled fissure or repaired area?
Does it exist only as a reflection?
If the available evidence cannot establish the answer, record the observation neutrally and request appropriate physical review.
Natural Quartzite may contain filled, resin-treated or repaired conditions.
The appropriate acceptance question depends on:
Le Comment définir les réparations acceptables dans une commande de quartzite naturelle guide explains why actual condition, location, finished-piece context and required evidence should remain connected instead of applying one blanket rule to every visible line.
Raking light can make shallow waves or local reflection changes easy to see.
That visual observation does not by itself establish a dimensional flatness result.
If flatness is a contractual or technical requirement, use the defined measurement method and the applicable project specification.
A photograph can identify where to investigate.
It cannot replace the required measurement.
A repeatable inspection sequence is more useful than moving a flashlight around until the most dramatic image appears.
Remove removable dust and normal residue using the approved cleaning method.
Allow the surface to dry.
Do not diagnose permanent finish variation from a wet, dusty or recently cleaned surface without accounting for those conditions.
Photograph or inspect the complete component from the normal project viewing position.
This establishes context.
Consignez :
Use a directional light at a low angle to investigate the questioned surface.
Move the light slowly rather than selecting one angle immediately.
Observe whether the condition:
Where useful, inspect from the opposite side or another controlled direction.
Some very shallow conditions become obvious only when they run across the light direction.
A second light direction can make the surface geometry easier to understand.
After the diagnostic check, restore the representative project lighting.
Reassess the location from normal viewing distance.
This prevents the dramatic inspection condition from becoming the only evidence considered.
A useful note might say:
“Piece K-04, polished face. Fine linear surface condition visible strongly under low-angle light from the left; less visible under diffuse overhead lighting. Further fabrication review required.”
This is much stronger than:
“Quartzite defective.”
Raking-light photography can be very useful for remote QC.
It can also be misleading when the lighting geometry is hidden.
An extreme close-up may prove that a line exists.
It may not show:
For important conditions, a practical record can include:

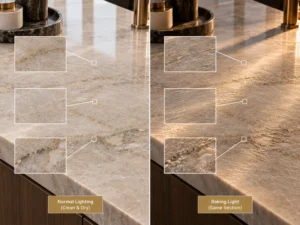
Image A — Complete Piece under Normal Light
Shows component identity and location.
Image B — Questioned Area under Normal Light
Shows how the area appears without deliberate surface-enhancing illumination.
Image C — Same Area under Raking Light
Shows the diagnostic condition and makes surface relief or polish interruption easier to evaluate.
Automatic exposure can make one photograph appear much darker or brighter than another.
Where possible, avoid changing camera processing so aggressively that the photographic difference becomes larger than the physical difference.
A simple non-readable directional marker or documented note can show where the low-angle light originated.
This makes the evidence easier to reproduce later.
Surface-Evidence Set
Whole Component → Normal-Light Detail → Raking-Light Detail → Light Direction → Condition Location → Review Status.
A surface condition can be highly visible under diagnostic lighting but have limited significance in the actual installed environment.
Another condition may look minor under factory ceiling lights but become clearly visible every afternoon in the finished kitchen because a large window creates repeated glancing sunlight.
These situations should not be treated identically.
| Question | Révision |
| Is the condition real? | Confirm on the physical surface rather than only from one photograph |
| What type of condition is it? | Scratch, polish variation, natural feature, fill, residue or another observed condition |
| Where is it? | Primary island face, secondary area, edge, return, concealed zone or other location |
| When is it visible? | Normal lighting, recurring project raking light, diagnostic light only or several conditions |
| How is it viewed? | Normal room distance, working distance or extreme close-up |
| Does it require technical action? | Decide from the actual project requirement and appropriate professional review |
A project should not casually introduce a new acceptance rule at final QC that every square centimetre of Natural Quartzite must appear visually uniform under an extreme handheld light positioned almost parallel to the surface.
If the contract, approved sample, specification or project lighting condition genuinely establishes a defined inspection requirement, follow it.
If not, use raking light as diagnostic evidence and relate the observation back to the agreed finished condition.
If the installed location has a window or permanent fixture that produces strong low-angle light across the stone every day, include that condition in the visual review.
The correct standard is project-specific evidence, not automatically “factory ceiling light only” and not automatically “handheld flashlight only.”
Le relatif Dalles de quartzite vues à la verticale versus à l’horizontale : pourquoi la présentation change guide explains the broader principle: the material itself may remain unchanged while orientation, reflection, viewing angle and lighting substantially change what the observer sees.
Raking light is extremely useful in Quartzite fabrication and QC because it can reveal conditions that broad lighting hides.
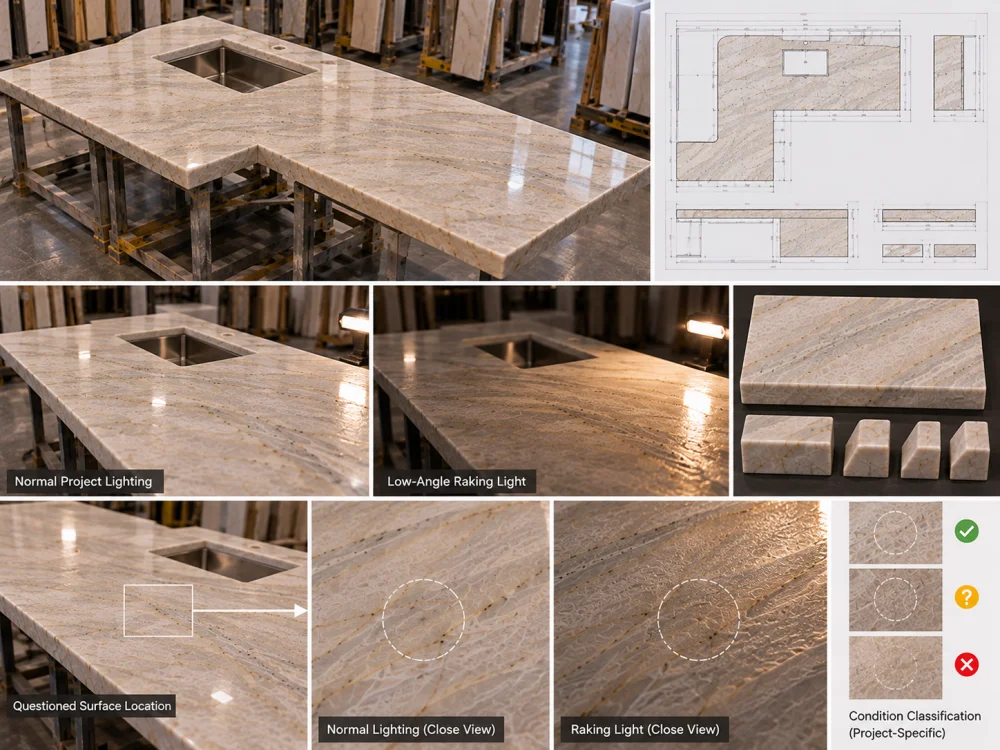
That is exactly why it must be interpreted carefully.
A useful decision chain is:
Clean Surface → Normal View → Controlled Raking Light → Opposite / Alternate Light Direction → Identify Condition → Locate on Finished Piece → Compare with Project Lighting → Technical Review if Needed → Record Decision.
This sequence avoids two opposite errors.
The first is ignoring a real surface condition simply because it disappears under flat overhead lighting.
The second is declaring a minor or normal surface characteristic unacceptable because an intentionally extreme diagnostic light makes it look dramatic.
For Natural Quartzite, the strongest QC record connects the observed surface condition with the actual material, actual finish, actual finished-piece location and actual viewing environment.
Raking light is directional light that reaches the stone surface at a very low or glancing angle. The low angle creates stronger highlight-and-shadow contrast around shallow surface relief, making scratches, polishing marks, texture and other small conditions easier to see.
No. Raking light is a diagnostic condition that can strongly amplify surface contrast. First identify what the observed condition actually is, where it occurs, whether it remains visible under normal project lighting, and what the agreed project acceptance requirements are.
A shallow scratch interrupts the surface plane. Low-angle light can create a narrow highlight on one side and a shadow on the other, producing much greater contrast than diffuse overhead lighting even though the physical scratch has not changed.
Yes. Mineral boundaries, crystalline areas, filled natural conditions and local differences in reflectivity can become more visible. Do not diagnose a scratch, crack or fabrication defect from one directional-light photograph when the physical evidence is unclear.
They respond differently. Polished Quartzite can show scratches, swirl marks and gloss interruption strongly because they disturb a reflective surface. Honed Quartzite has lower specular reflection but can still reveal texture, local sheen changes and surface variation under oblique light.
Provide a complete-piece view, a closer view under normal lighting and the same area under controlled raking light. Keep the piece identity and condition location traceable, and record the light direction where useful. Avoid relying only on an extreme close-up.
Send Josh the Natural Quartzite material name, current slab or piece reference, drawing and piece ID, surface finish, location of the questioned area, normal-light photographs, controlled low-angle-light photographs where available, relevant project lighting conditions, finished-piece dimensions, quantities and delivery destination. If the concern involves flatness, repair significance or another technical condition, identify the applicable project requirement so the correct review method can be coordinated.
Surface Inspection SummaryRaking light is valuable because it makes subtle Quartzite surface conditions easier to find, not because it automatically defines the final acceptance standard. Inspect the stone clean and dry, establish the normal project view first, use controlled low-angle light to diagnose the questioned area, change the light direction where useful, distinguish natural stone features from fabrication or maintenance conditions, and return to representative project lighting before determining visual significance. Where the issue involves measurable flatness, structural significance or another technical requirement, use the appropriate project-specific measurement or professional review rather than relying on lighting alone.
For project-based Natural Quartzite fabrication and QC, HRST STONE can coordinate actual slab references, finished-piece IDs, surface-finish review, condition photographs, normal-light and controlled directional-light evidence, repair-location records, CAD/shop drawings, fabrication QC, packing and export documentation according to the confirmed project scope. Send Josh the stone reference, drawings, dimensions, finish, questioned surface location, required evidence, quantities and delivery destination for review.